
An interlock driveway is a great investment for any home. Not only does it add curb appeal, but it’s also easy to maintain and can last for many years with proper care. One of the most important parts of taking care of an interlock driveway is resealing it on a regular basis. Resealing an interlock driveway is a simple process that takes just a few hours and can be done by anyone with basic DIY skills. In this blog post, we’ll show you how to reseal an interlock driveway in just four easy steps.
Step One: Clean the Driveway
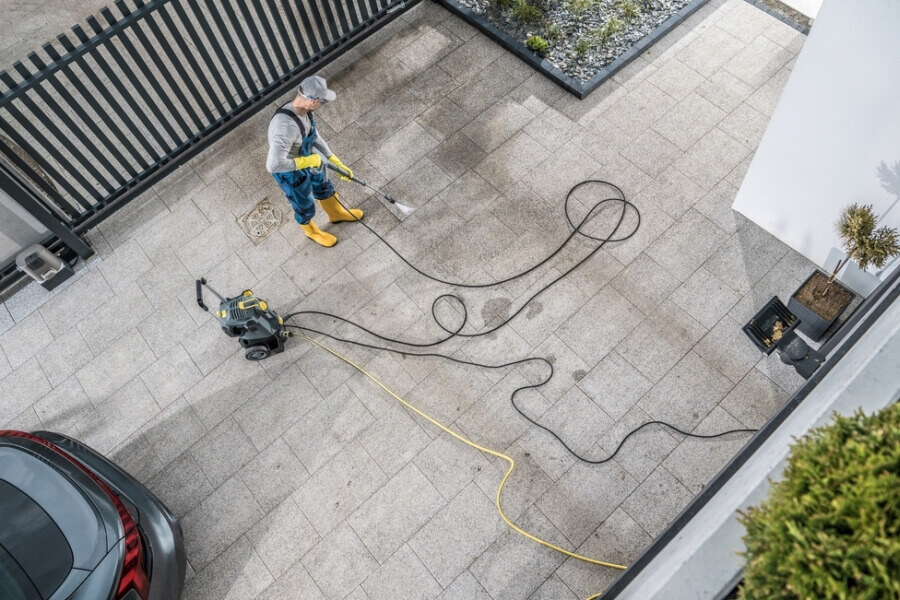
The first step in resealing an interlock driveway is to give it a good cleaning. You’ll want to remove all dirt, debris, and leaves from the surface of the driveway. A power washer can be used to remove any stubborn dirt or grime. Once the surface is clean, allow the driveway to dry completely before moving on to the next step.
Step Two: Fill in Cracks and Holes
Once the surface is dry, you’ll want to fill in any cracks or holes with a concrete patching compound. This will help prevent water from seeping into the cracks and causing further damage. Be sure to smooth out the patching compound so that it’s level with the rest of the surface. Allow the patching compound to dry completely before proceeding.
Step Three: Apply Interlock Sealer
Now it’s time to apply the interlock sealer. You’ll want to pour a generous amount of sealer onto the surface of the driveway and then use a rubber squeegee to spread it evenly over the entire area. Be sure to pay special attention to any areas that are cracked or damaged. Once you’ve applied the sealer, allow it to dry for at least 24 hours before walking or driving on the surface.
Step Four: Enjoy Your Like-New Driveway!
That’s it! Once the sealer has had time to dry, you can enjoy your like-new driveway. Be sure to reseal your interlock driveway every two years or as needed to keep it looking its best.